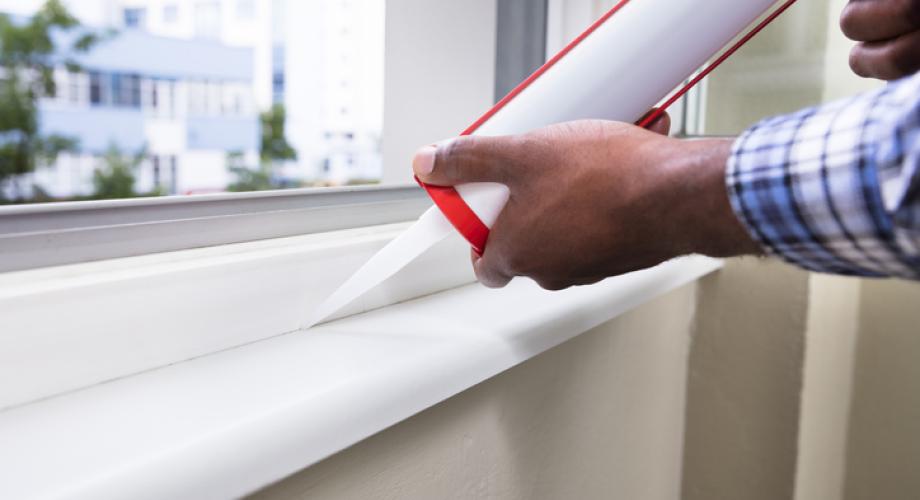
Q. I need to do some caulking in my apartment unit, both inside and outside the unit; however, I am confused. I stood at the home improvement center’s caulk section and stared for 10 minutes, and I still don’t know what to buy. Can you help explain the different types of caulks and where to use them?
A. Here are the most common caulk types and when and where to use them:
Acrylic Latex Caulk (painter’s caulk): Inexpensive, easy to use, water cleanup. Not for use in damp locations such as bathroom or kitchen or outdoors. Designed to be painted over.
Vinyl Latex Caulk: Easy to use, water cleanup and can be used outside. Not very flexible; use in expansion joints is not recommended.
Acrylic Tile Sealant: Easy to use, water cleanup. The sealant is perfect for bathroom and kitchens and other wet locations. It is mold and mildew resistant. Paintable.
Siliconized Acrylic Sealant: Easy to use, soap and water or solvent cleanup. Perfect for porcelain tile, metal and glass. Similar to Acrylic Tile Sealant, but tougher and longer lasting.
Pure Silicon: Best for non-porous surfaces. Long lasting, indoor/outdoor caulk. Super flexible and strong. Harder to use than any of the above caulks. Solvent cleanup. Mold and mildew resistant. Could smell until cured.
Butyl Rubber: Best use is outdoors. Messy to use. Perfect for sealing roofs, valleys, gutters, flashing and foundations. Moisture and movement tolerant. Sticks to anything. Clean up with solvents.
Elastomeric Latex Caulk: Water cleanup. Longest-lasting caulk. Great adhesion to almost all surfaces and can stretch close to 200%. Elastomeric caulk is very tolerant to wide temperature and weather extremes. It is most often used outdoors. This caulk can bridge gaps up to 2 inches wide and deep. The caulk dries very quickly, tool the caulk immediately after application.
Q: I want to create a seating and relaxing area in the middle of my building’s courtyard. My thoughts are to use decomposed granite and eliminate the current grass area. How do I go about installing the surface without making a mess or a future headache for myself?
A: Decomposed granite, or “DG” for short,is a great way to add a durable, natural and water-wise surface. A few things you need to know before you get started. The key word in DG is “decomposed.” In other words, this granite is decomposing. There are three options: Raw DG for flower beds, stabilized DG for walkways and resin-coated DG for driveways. For your purpose, you need to use a stabilized DG for walkways. It has a binder mixed into the DG. Non-stabilized DG is much cheaper but will of course decompose and create dust when dry and slush when wet. To properly install DG, dig down three inches overall and use a wood, rock or brick border to keep the edges of the DG from crumbling. As an option, lay down a weed barrier cloth under the DG. Apply DG in one-and-a-half-inch layers, water down (don’t flood) and tamp or use a heavy roller to compress the DG. Wait eight hours between layers to let the DG settle. Repeat the above for each subsequent layer. When installed properly, the DG surface will be rock hard, stable, dust-free and will allow water to drain.
Do you have DIY maintenance questions? Send them to [email protected]